5 easy steps to decluttering and organizing kids’ school papers and artwork
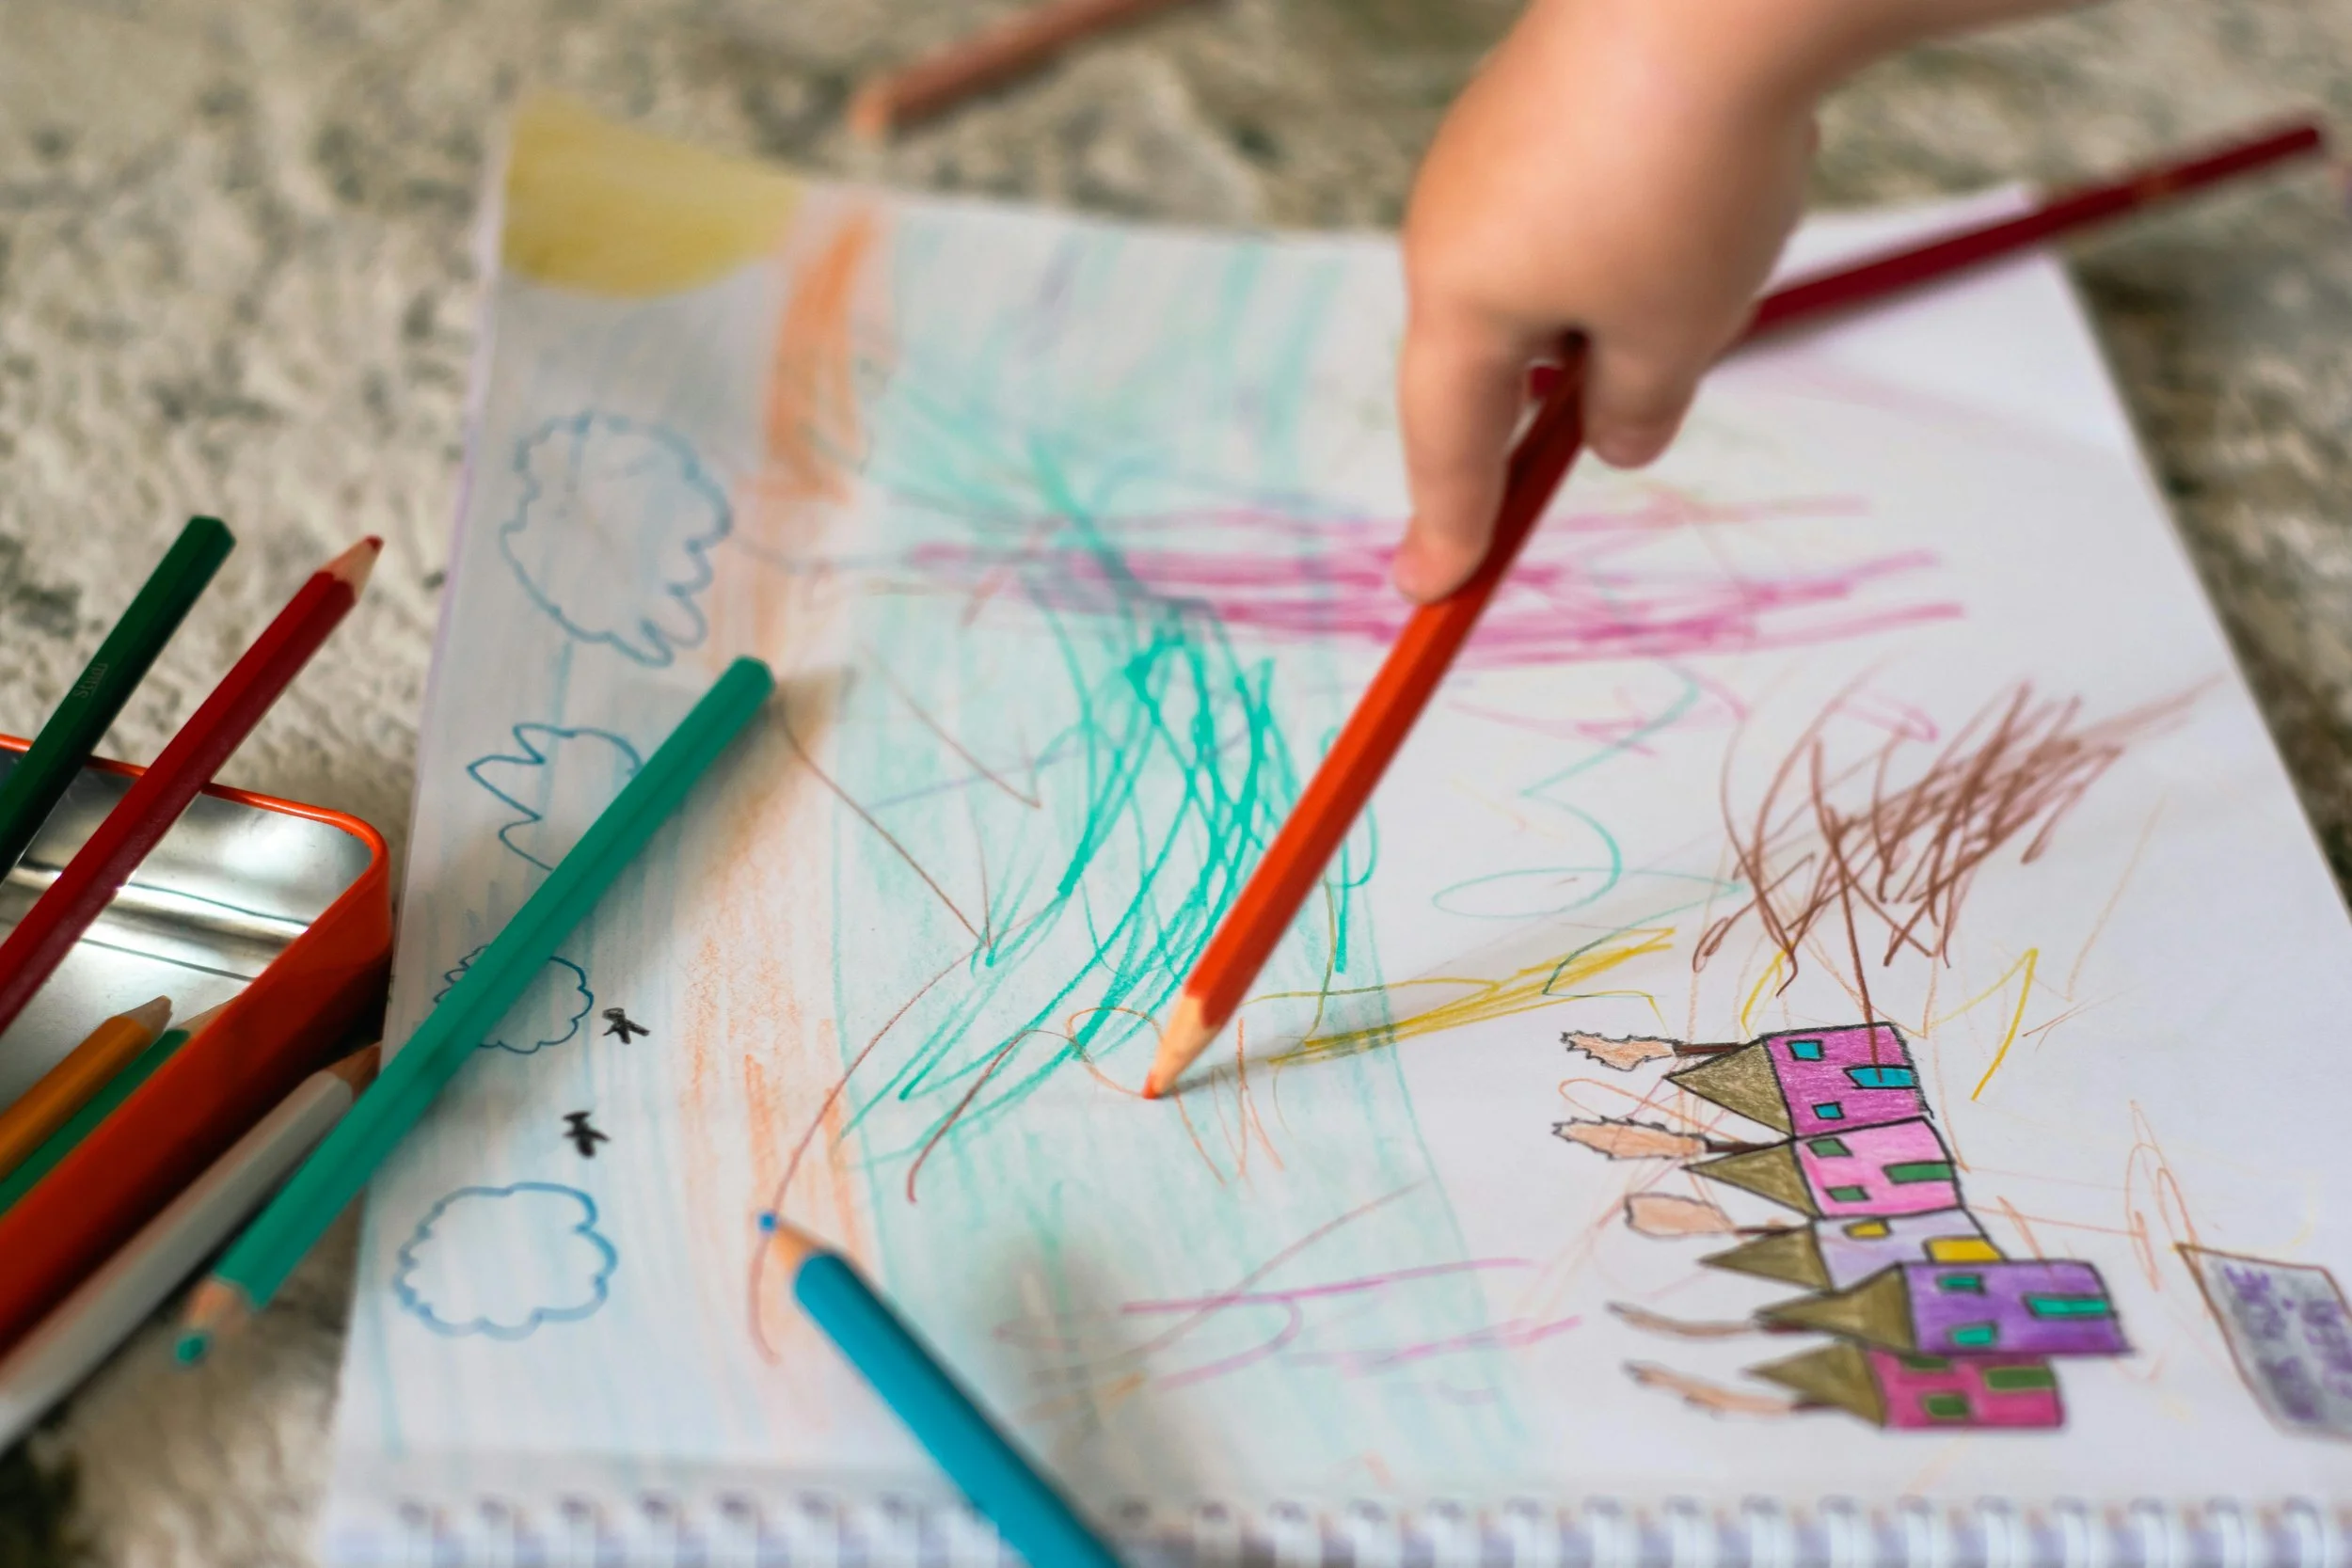
Hey there! If you’re a parent, you know the struggle: every week your kids bring home a mountain of school papers, drawings, and art projects. Some are precious keepsakes, others… maybe not so much. Before you know it, your counters, drawers, and fridge are overflowing with paper clutter, and you’re left wondering what to do with it all.
Here’s the good news: with just a few simple systems (and we love systems at The Happy Space Co.!), you can keep school papers and artwork organized, declutter without guilt, and preserve the memories that matter most. In this step-by-step guide, we’ll walk you through five easy strategies to tame the paper chaos—while giving your kids a sense of responsibility and ownership along the way.
We are also here to declutter and set up spaces for your kids that go hand-in-hand with the systems that we set up to declutter artwork and papers. Our Kids Organizing service will set you up for success!
Step 1: declutter last year’s papers
Before you set up a new system, it’s important to clear out the old. Chances are you’ve got a stack (or several) of papers and artwork from last year still hanging around. Starting fresh will make it easier to stay on top of things this school year. With our Done-For-You Organizing service, we will both declutter and set up systems that work for you and your family!
How-to guide for decluttering school papers:
Gather everything in one place
Pull school papers from drawers, shelves, counters, and backpacks. Put it all on a large table or the floor so you can see exactly what you’re working with.Sort into categories
Keep: special projects, awards, report cards, or artwork that feels meaningful
Recycle/discard: worksheets, spelling tests, math drills, or duplicate papers
Unsure: if you’re on the fence, put it in a temporary pile—you’ll revisit it at the end
Set a limit
Give yourself a boundary, like one file box per school year or 20–30 items maximum. This helps you focus on what’s truly specialInvolve your kids
Kids often surprise parents with what they value most. Ask them: “Which pieces do you love? Which can we let go?” This not only helps with decision-making but also teaches them about organizing
Pro tip: Take photos of oversized or bulky projects before recycling them. That way, the memory lives on without taking up space.

Step 2: clear folders and backpacks every day
You know that feeling when you open your child’s backpack and it looks like a paper bomb went off? The secret to preventing pile-ups is daily maintenance. It only takes a few minutes, and when you turn it into a habit, the clutter never builds up. In our Guide to Organizing Products, we share our favorite organizing products with you!
How to make it work:
Set up a designated spot
Create a “drop zone” near the entryway, kitchen, or family command center. This could be a tray, a wall-mounted organizer, or even a labeled basketInvolve the kids
As soon as they get home, have your kids unload their folders and backpacks into the designated spot. It’s their job, not yours! Giving them responsibility helps build independence and organizational skillsSort immediately
Action items (forms to sign, homework) go in one folder
Keepsakes (artwork, special projects) go in another
Recyclables go straight into the bin
Consistency is key
Spend 5 minutes each afternoon reviewing the papers. It’s faster than letting them pile up for weeks and then facing an overwhelming mess
Pro tip: celebrate your kids when they take ownership of this step. A simple “Thanks for unloading your papers—you’re helping keep our home organized!” goes a long way.

Step 3: display special items
Not every piece of art or schoolwork needs to live in a box. Kids love seeing their creations displayed—it gives them a sense of pride and shows them that their work matters.
Easy display ideas:
Gallery wall
Hang a few clipboards, magnetic strips, or corkboards in a hallway or playroom. Rotate artwork regularly so the display stays freshTape it up
Sometimes the simplest method is best—masking tape or washi tape on a bedroom wall makes for an easy, colorful displayStorage picture frame
Use frames designed to hold multiple items behind the one on display. You can swap out the artwork weekly while safely storing the rest. We love the Skylight calendar and digital photo frame—it keeps life organized and displays cute photos!Hanging Line
String up some twine or wire with clips in a playroom or bedroom for an instant mini art gallery
By choosing a few visible spots to celebrate your kids’ work, you avoid the “everything on the fridge” problem while still honoring their creativity.

Step 4: use file containers for keepsakes
Now that you’ve pared down and chosen the most meaningful items, you’ll want a reliable way to store them. Enter: the file container system.
How it works:
One container per child
Purchase a sturdy plastic file box or accordion folder. Label it with your child’s name and school yearsOne folder per year
Create labeled folders or dividers for each grade (e.g., “Kindergarten,” “Primary 1,” “Primary 2,” etc.)Set a limit
Stick to 20–30 items per school year. This keeps the box manageable and prevents it from overflowingWhat to include
Report cards
Awards or certificates
Special art pieces
Writing samples (like a story or poem)
Photos of larger projects
Over the years, this system creates a curated archive of your child’s school journey. When they’re older, it becomes a meaningful keepsake they can look back on with pride.
Step 5: Photograph and Create a Photobook
Some items are just too big or too numerous to keep forever. This is where technology saves the day.
How to preserve memories digitally:
Photograph Artwork and Papers
Use your phone to snap high-quality photos of larger projects, 3D crafts, or anything you don’t want to keep physically.Organize by Year
Create digital folders labeled by school year for easy sorting.Turn Them Into a Photobook
Services like Chatbooks, Shutterfly, or local Hong Kong print shops make it simple to design a photobook.Get Kids Involved
Let your child choose which pieces to include in the book. This makes it a collaborative project and gives them ownership over their memories.
Pro tip: A photobook makes an amazing gift for grandparents or a fun way to look back at your child’s growth year by year. We love Artkive, a service that collects your photos and creates the perfect keepsake mementos!

Why this system works
Decluttering school papers can feel daunting, but these five steps make it manageable and sustainable. Here’s why:
It’s simple: daily habits (like unloading backpacks) prevent buildup
It’s kid-friendly: kids take responsibility and feel proud of their work
It’s memory-focused: you keep the meaningful items without drowning in clutter
It’s sustainable: limits (like 20–30 items per year) keep things organized long term
By blending physical storage, display solutions, and digital archives, you get the best of all worlds: a clutter-free home, proud kids, and preserved memories.
School papers and artwork don’t have to take over your home. With a few simple systems, you can declutter with confidence, keep the truly special items, and enjoy a home that feels calm and organized.
And remember, if the process feels overwhelming, The Happy Space Co. is here to help! From setting up kid-friendly paper systems to creating beautiful keepsake solutions, our team in Hong Kong specializes in turning chaos into calm. Whether you need support with decluttering, organizing, or setting up long-term habits, we’d love to help your family create a happier, tidier space.
Ready to transform your home?
We invite you to experience the joy of a tidy and organized home. Let's create a living space that sparks your creativity and brings you peace. Contact us today for a free consultation!